A reflector card is the easiest accessory to use for product photography because it doesn’t produce additional light; it just reflects light that is already there. If you don’t own any reflector card kits yet, use a plain white card, a sheet of foam board, or just a blank sheet of printer paper. A white card reflects a small amount of light back onto the shadow side of your subject. For those getting started in product photography, it allows you to control the dark side of the object without adding another lamp or changing the whole scene.
A common problem that product photographers have is when a shadow side of an object is too dark. This happens when the light source is strong and coming from one side. A strong light hitting one side is great for emphasizing the shape and texture of the object, but it can make the other side look way too dark. A small box may lose its edge completely, the side of a ceramic mug may look too dark, and the detail on the shadow side of a handmade item may look lost. A reflector card will give you the ability to soften the shadow side, letting you see more detail without losing the look of form.
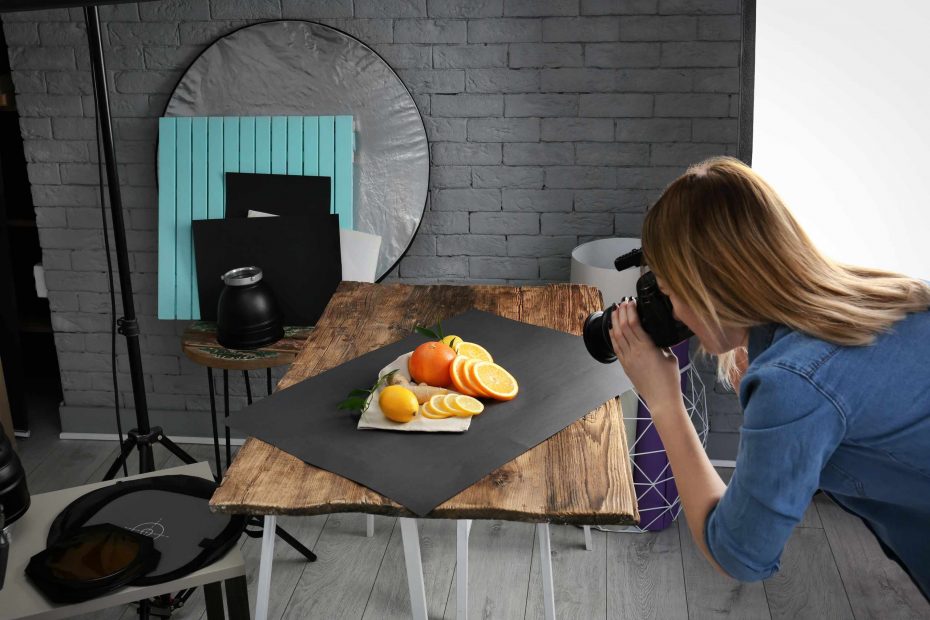
Set up your object on a tabletop in front of a window, or with the light from a desk lamp hitting one side of it. Take a picture of your subject with no reflector card first. Next, place a white card on the dark side of your subject, just outside of the frame and angled toward the subject. Take another picture. Move the white card closer to the subject and take a third picture, then move it further away and take a fourth. Look at how moving the reflector further from the object affects the shadow side.
A white reflector card shouldn’t make the shadow side of the subject completely light as the image. When you’re using a reflector to control shadows, you want just enough light coming back onto the shadow side to see more detail. You don’t want the shadow side and the light side to be the exact same brightness, because that will make your photo flat. A little bit of shadow on the subject’s side helps the viewer see the curve and bend or where the subject meets the tabletop. You want a reflector card adjustment that gives you enough depth and detail in the image. It won’t be about the lightest shadow, but about seeing something new in the dark area, such as labels on a product, texture, or the corners.
Also, the angle of the reflector matters. If the reflector is angled away from the subject, very little light bounces back. However, if the reflector is pointed toward the glossy surface, you may get a pale reflection or a larger bright spot in the image. Look at how much of the bright spot appears, as you slowly move the reflector angle away from the subject. With a matte object, it doesn’t matter as much, because the change of a small angle is subtle. However, for glass, metal, or a plastic object, moving the reflector just slightly can change the reflection a lot.
A reflector also helps you control the background of your photo. A problem often arises when the subject’s shadow side is too dark in front of a dark background, and you’re not seeing the subject outline. When the light bounces back onto the shadow side, that helps the subject outline stand out from the background. If your shadow side and background ends up too bright, use a smaller reflector card, move it away from the shadow side, or angle it so it lights up the subject more than the background.
Before you finish with your setup, remove the reflector and take one final shot without it and then put it back. This is how you train your eye to see the difference. You’ll notice the subject’s edge is more defined, you’re seeing more detail in the surface, or you see a lighter and darker transition. Don’t use the brightest reflector, but rather use the one that allows the subject to keep their shape, yet you still see those important elements.