If you take a photo of a small object near a window using front light, that is, light behind your camera, the results might be a bit underwhelming. While the overall exposure might be bright enough, you can often tell that something is not quite right. The front surface of your subject is captured, but the details of the shape, the contour, the curvature, the outline, or texture often get missed. It occurs mainly because front lighting is fairly even, leaving you with less shadow to help outline the subject.
By moving to side light, with the light source behind you but from the left or right side of the subject, you will instantly see a change. One side of the subject will be much brighter than the other, allowing you to get a much better sense of the subject’s shape. The curvature of a ceramic cup begins to appear, the sharpness of the corners of a box comes into focus, and if you are capturing a piece of cloth with texture, the fine ridges and folds will show instead of a blank white shape in the frame.
Shadow, by itself, is not wrong in the context of object photography. A shadow can be helpful when it serves as a graphic aid to outline the shape of your subject, or when it is light enough to provide a smooth transition between the object in focus and the background, or even when it gives you the hint that a surface is glossy, rough, or bumpy. Shadow can even reveal if your object is in contact with the surface that it rests upon. It only becomes problematic if it is dark enough to completely obscure the shape you are trying to capture.
The best way to see this for yourself is to try this experiment yourself, using a simple subject (bottle, cup, small box, or handmade craft) as your example. Use a consistent background, same camera, and same subject placement. Use the same camera for all three, and keep all the same. Shoot front light, shoot left-side light, and shoot right-side light. Don’t judge each of these photos by the amount of light alone. Consider how the shape of the outline is rendered, the texture captured, any reflections present, and how the objects sits on the table.
If the side-lit photo is too dramatic, don’t move the subject, just add a small, white card to reflect a little light into the darker areas and see how the shadow gets filled in. Alternatively, you can put something in between your subject and the lighting to see if it softens the edges of the shadow, making the transition from light to dark less abrupt. Either way, you don’t want to go from an even lighting setup to one that creates too many harsh shadows. Instead, the subject should be illuminated enough to reveal its shape without the shadows completely overtaking the frame.
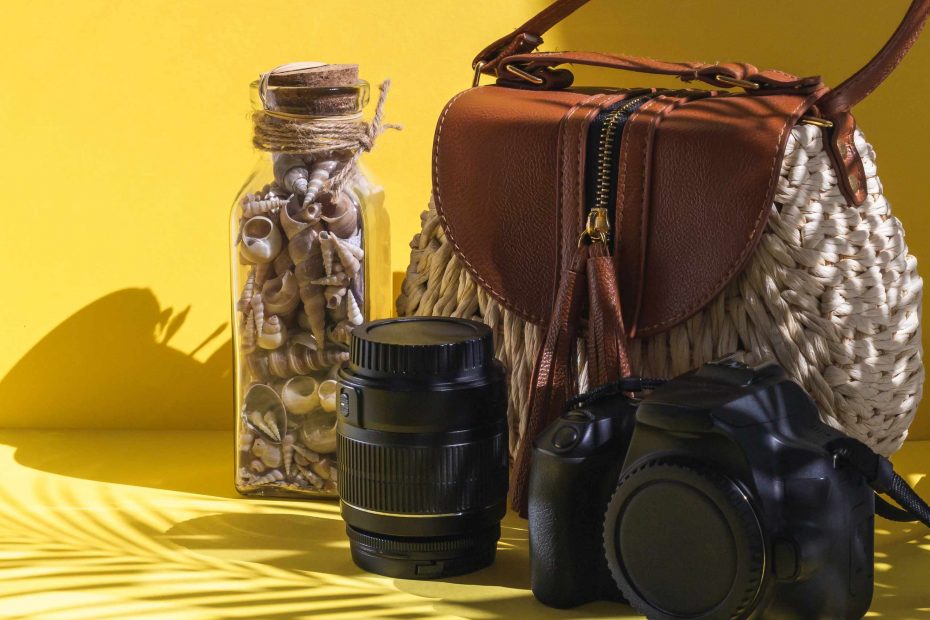
With glossy objects (glass, metal, plastics, and finished products), it can be challenging to work with any form of side light. There are a few ways to work around it. You might try moving the object and see if you can avoid bright stripes and distracting reflections. Rather than moving the light source itself or blocking the light source, try moving the object to a different position relative to the subject. Try moving the light source or camera to see how it changes the appearance of the glare, or try shifting the lighting or camera angle to see what is reflected on the surface. Don’t try to remove all reflections, however. Instead, try to see how much of the light is reflected onto the subject itself and how the reflection moves.
A great way to know if you’ve learned a lesson, though, is when you can assess what is missing in your photo before thinking about how to get your subject in focus. Try to identify what it is, and you’ll be thinking more in the way of the setup, like, “This side has too dark of a shadow,” or, “This is an odd angle for the light to be coming from, or the lighting is hiding the texture of the subject.” The side-light setup gives you more information to consider and can be more helpful to learn and develop your object photography.